Map
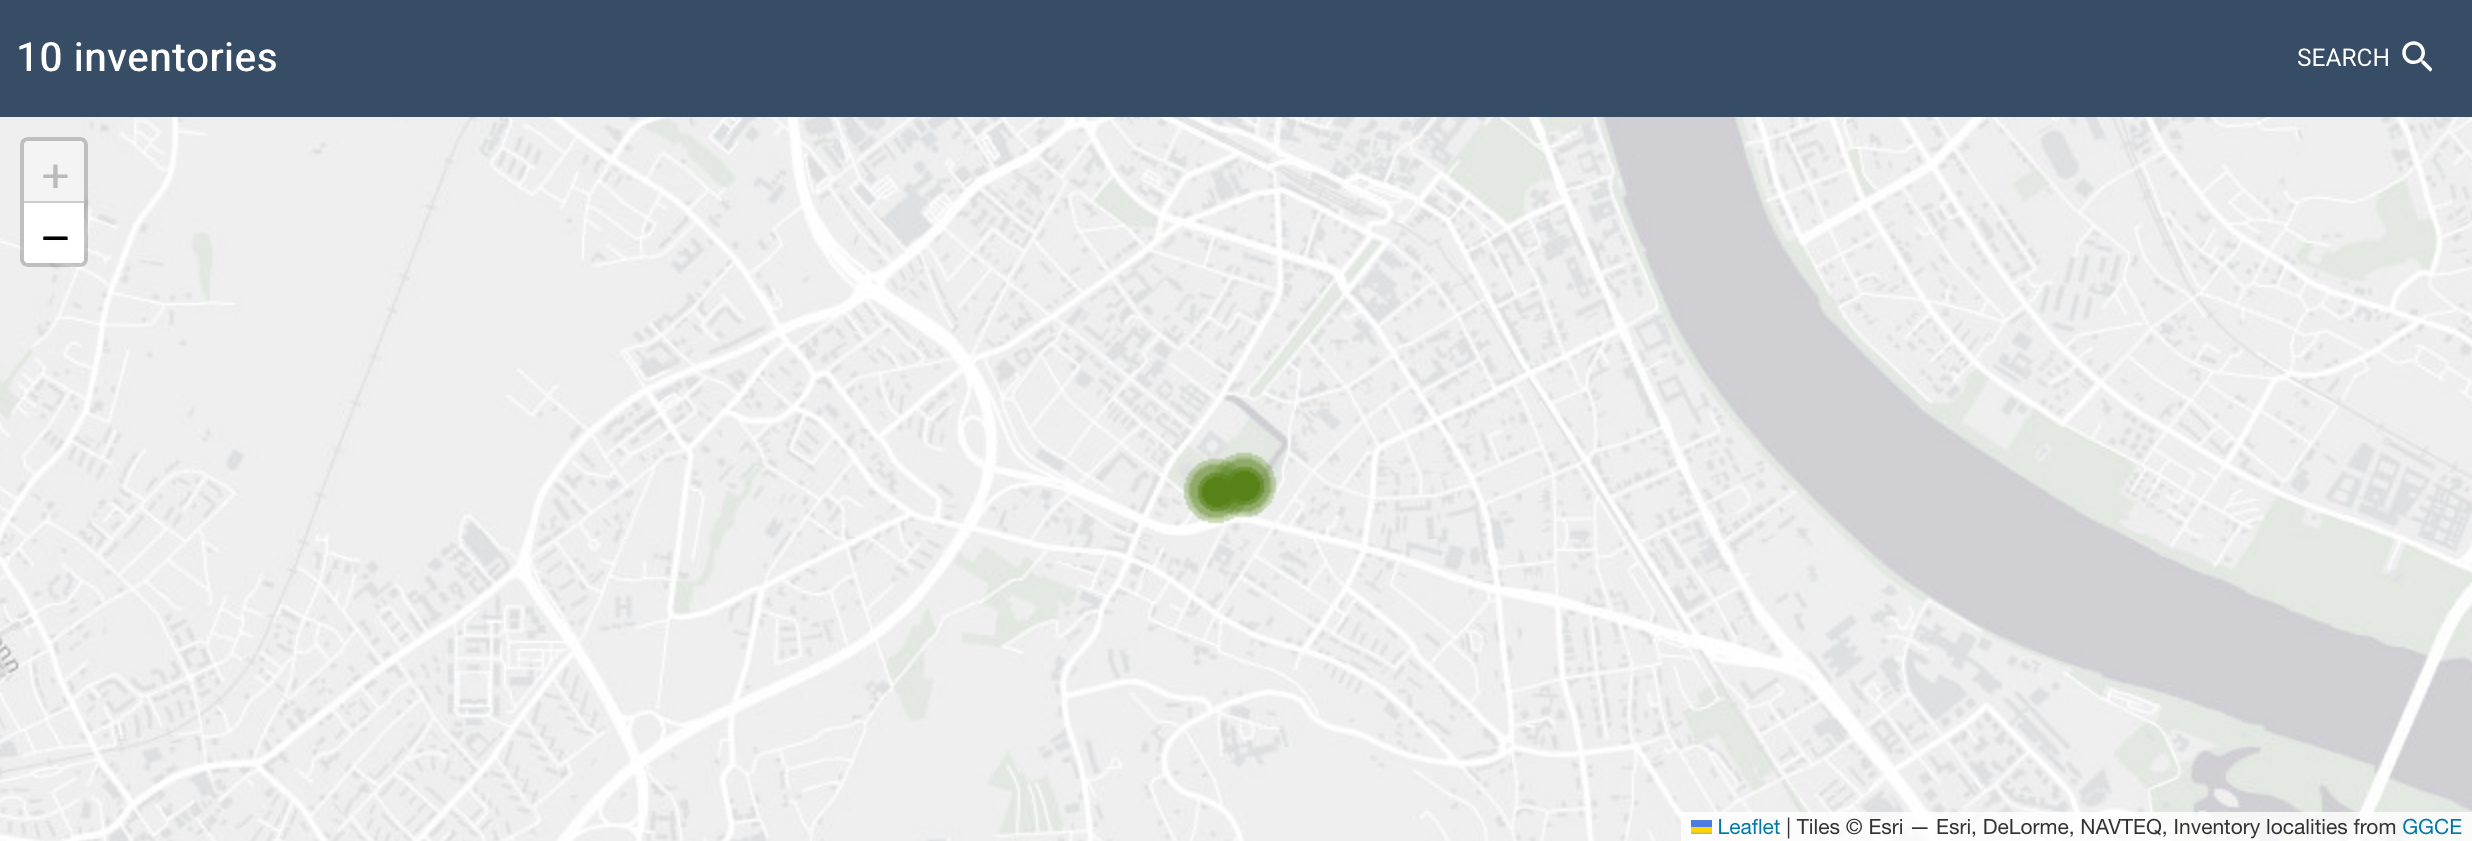
The map view shows where material is stored or planted when inventory items have latitude and longitude coordinates. This is especially useful for field collections and field genebanks, where a geographic layout is more intuitive than location codes.
Go to Inventory > Map in the main menu to open the map.
Map view
The map displays a marker for each inventory item with coordinates. Markers cluster together when items are close; zoom in to see individual markers.
Pan and zoom the map to explore the collection. To maintain responsiveness, the map only loads markers for the visible area, which update automatically as you move. The count shown in the page title and the map tiles include only inventories that have latitude and longitude values.
Click anywhere on the map to draw a selection rectangle and list the inventories in that area. A button in the popup opens the matching inventory list.
Filtering the map
Use the filter panel to narrow the items shown. The same filters used on the inventory grid are available, such as maintenance site, storage location sections, and inventory status.
Only items that match the filters and have coordinates appear on the map. Items without latitude or longitude are not shown.
Viewing inventory at a location
Click a location marker to open a panel with details for the inventory items stored or planted there.
From the panel, open the germplasm list to review details, run actions, or export results.
Use the inventory list for individual item management and the map for overall geographic distribution.
Keeping the map accurate
The map relies on the latitude and longitude stored on each inventory item. Follow these best practices:
- Record coordinates when placing material in a field or outdoor storage area.
- Update coordinates if material is moved.
- Ensure coordinates show the current storage or planting location, not the original collection site. See storage location for more details.