Finding inventory items
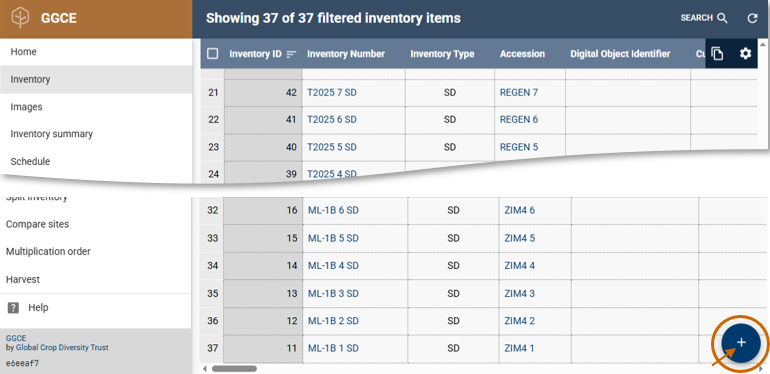
When the Inventory menu is selected, the inventory grid displays. When records are listed and none have been individually selected, you can search for specific inventory items, filter the list based on criteria you decide, or add a new inventory item.
Searching for existing inventory items
There are several ways to find inventory items. After locating the desired inventory item, you can edit its details, generate a barcode or perform other actions. The available methods for searching include:
- Scan inventory barcode
- Use the Summary dashboard – many different filters are possible to select from
- Search from the accession's details page (when the accession is known)
- Search from the inventory item's details page
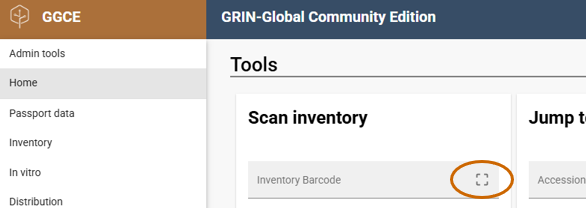
Searching with a barcode
You can begin searching for inventory items from the main menu. If the inventory item has a barcode, you can scan it directly. Alternatively, enter an Inventory text equivalent (I:nnnnn) at the Inventory barcode button.
Searching from the Inventory summary page
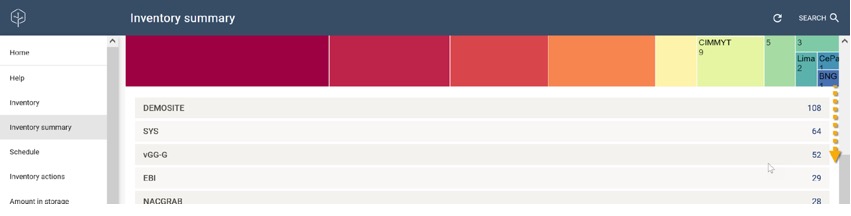
Summary pages allow you to filter accession and inventory items. In the case below, we are interested in the Inventory summary page. In general, a summary page provides a graphical representation of the items being reviewed, displayed in boxes sized in proportion to the relative number of items.
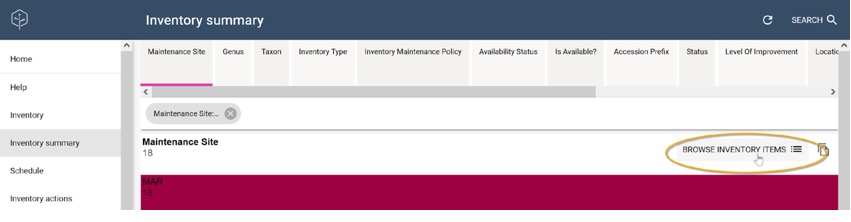
Directly below the Inventory summary banner, a row of fields is displayed. Maintenance Site appears as the left-most item in the row and serves as the default filter. By clicking on a different field, you can then filter by that field and the summary chart will be updated to reflect the new counts.
In the example shown, the colored sections represent counts by Maintenance Site. Scrolling beneath the chart reveals bars that also indicate the counts. You can click any colored box to list the items corresponding to that value.
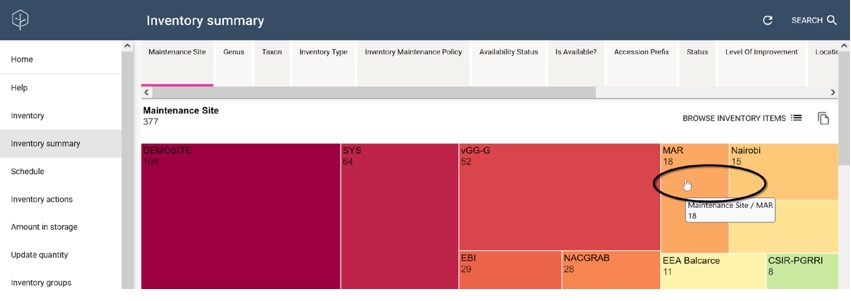
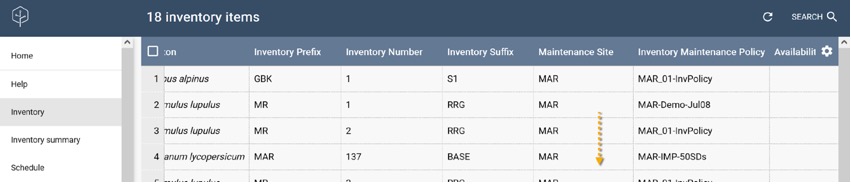
Clicking on the Browse Inventory Items button lists the related items, in this case, for the MAR site.
Searching from an accession
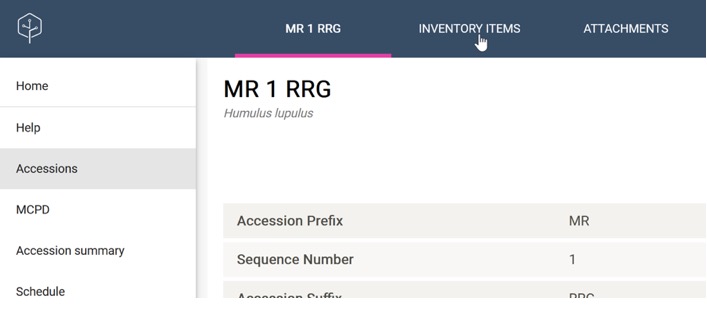
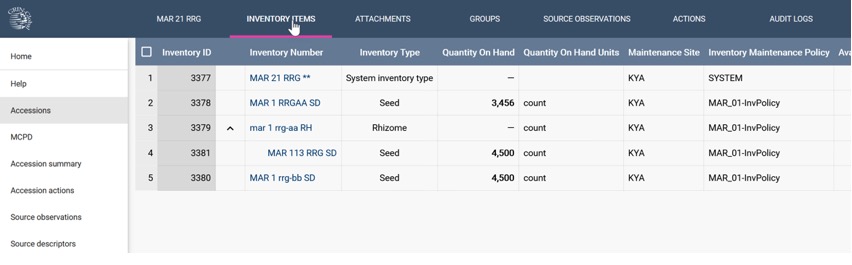
When an accession is selected, the banner has an Inventory Items option that lists all the inventory items associated with the selected accession.
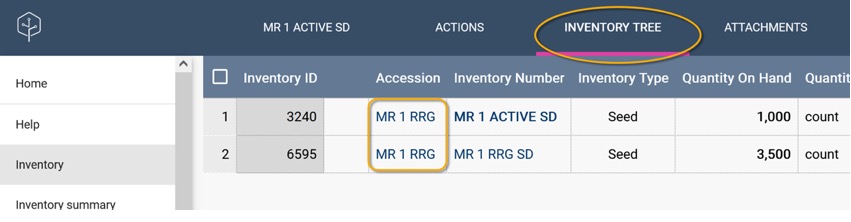
Listing all inventory items for one accession (Inventory Tree)
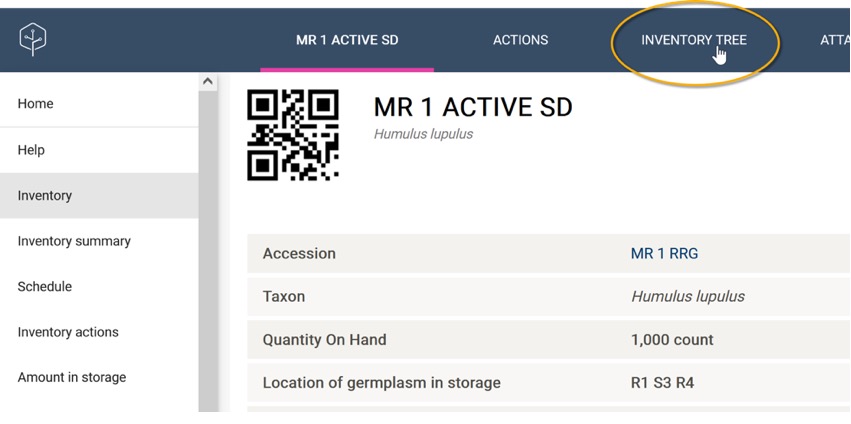
When viewing an individual inventory item, the Inventory Tree option in the banner allows you to see all of the related inventory items for the same accession.
Reviewing quantities of an accession
To review the quantities of an accession's individual inventory item, click on the accession identifier and then select the Inventory Items option in the header.
Printing barcode labels, generating PDF documents, or scheduling actions
When inventory items are listed and you have selected one or more items, the action button is displayed.
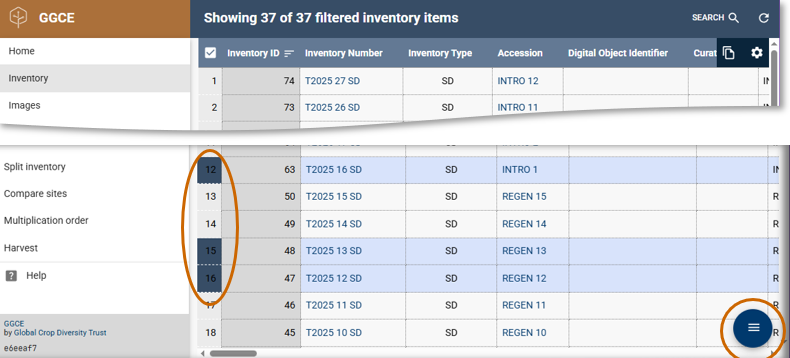
Click on the action button and a list of options are listed; the following are the relevant ones:
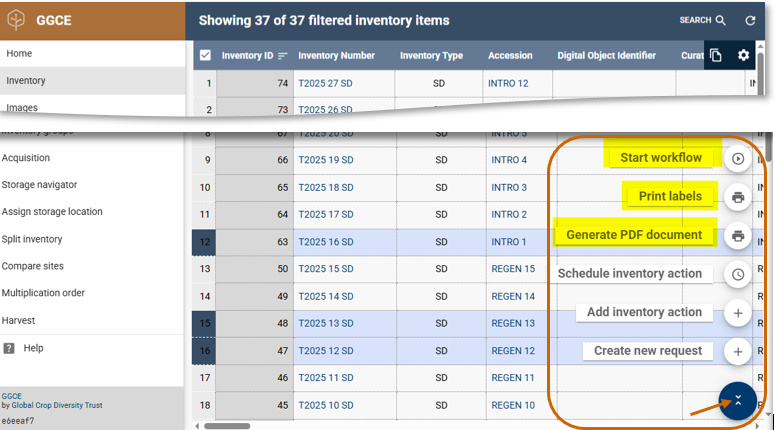
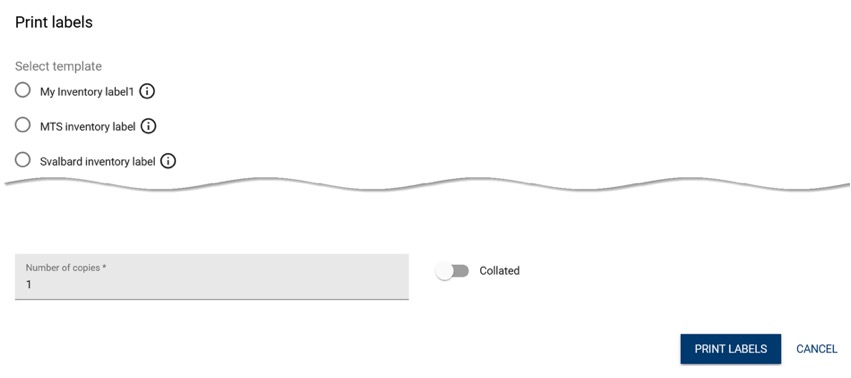
Print label
After selecting Print label, you can choose the type of label to print and the preferred number of copies in the next window. The available choices might differ depending on your genebank.
Click the radio button for the desired option and then click the Print Labels button.
More on this topic is available in the documentation about Barcoding and labeling.
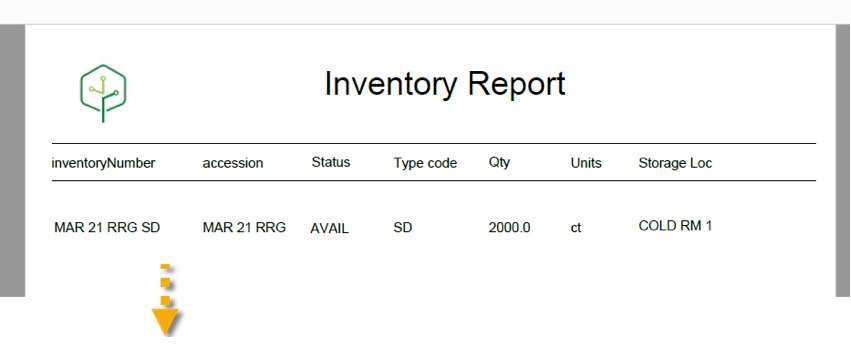
Generate PDF document
Selecting the Generate PDF document will present a list of options. This list may vary by genebank. Select one of the report template buttons and click the Generate PDF Document button.
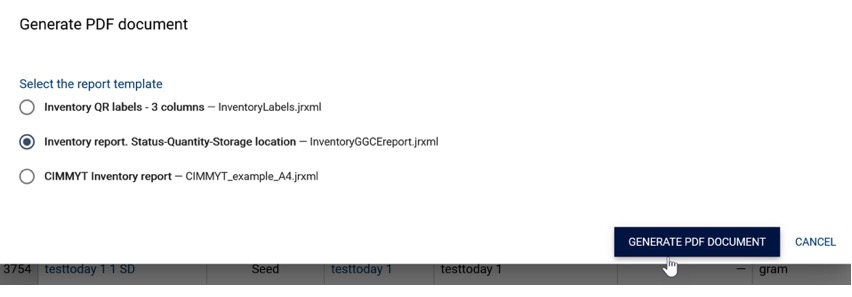
The PDF file will be downloaded to your device.
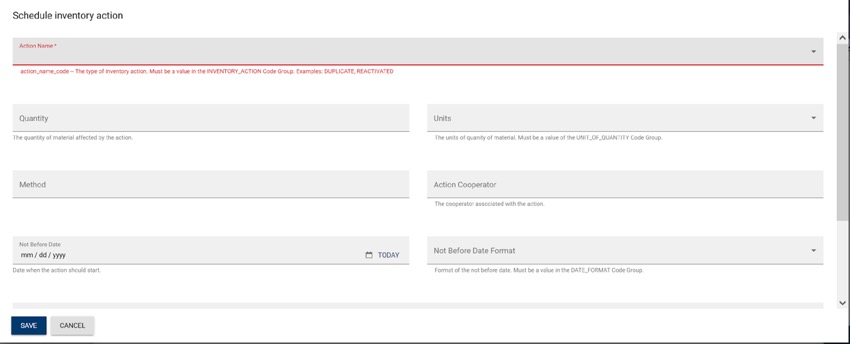
Schedule inventory action
After selecting one or more inventory items, and choosing Schedule inventory action from the Action list, the Schedule inventory action form is displayed. For additional details, review the section Adding (scheduling) inventory actions.