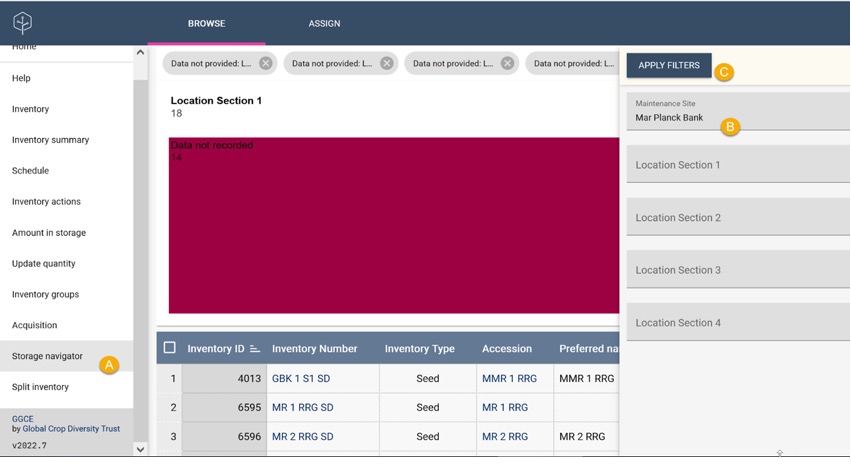
Storage navigator
Use the Storage navigator feature to locate inventory items at a specific location. The filter accepts data from the Maintenance Site or data from the four storage locations.
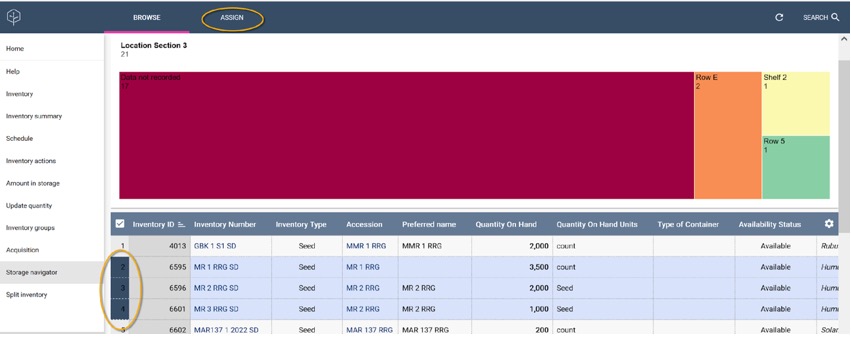
Assigning location in storage
The storage navigator also facilitates assigning storage locations to one or more selected inventory items.
Missing storage location information
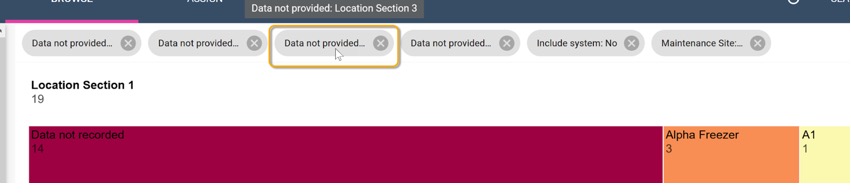
Besides locating items at a specific location, you can also use the Storage Navigator feature to determine which inventory items do not have their location fields completed.
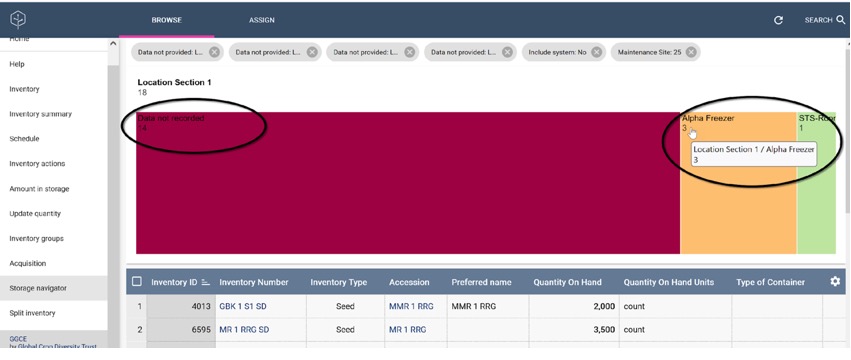
To refine results, users can utilize the filters available at the top of the Storage Navigator window.
Rapid inventory registration
The Inventory registration tool allows you and your team to immediately begin using GGCE and all the tools it offers, without being delayed by existing documentation that is yet to be added to GGCE.
It allows you to do a physical inventory of your collection directly in GGCE, barcode each packet, and record its quantity and location. Any missing accession numbers are easily added.
The workflow is as follows:
- Select a rack/shelf/box in the storage room
- Open Inventory > Storage navigator and look up the existing data for that location
- Take the first packet of seed (or in vitro plantlet)
- Click Add inventory item
The Add inventory item form has three sections: the first to find the accession and show the existing accession information and also lets you register any missing accession numbers, the second allows you to pick the inventory maintenance policy and the barcode label template, and the main section where you register the inventory information:
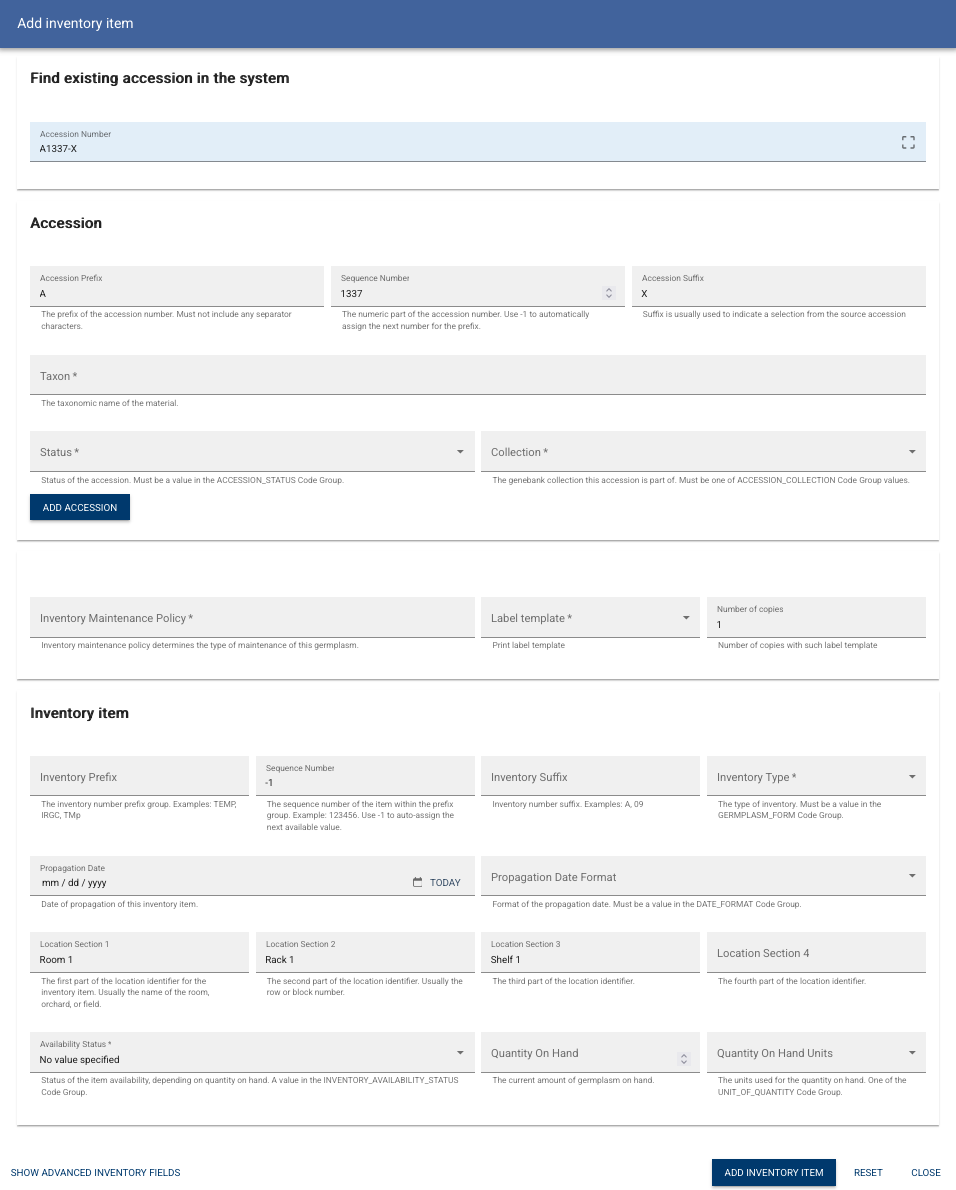
You can now register the first packet:
- Look up the accession by entering the accession number recorded on the packet
- If missing, enter the taxon of the material and register the missing accession
- Select the inventory maintenance policy and choose the label template you want to use for barcoding
- Enter basic information about the packet: inventory type and availability status
- You can also immediatelly record the propagation date (usually noted on the packet) and the current quantity
- Advanced mode allows for recording all other information that is noted on the packet: initial seed viability, moisture content, etc.
- Labels are automatically printed when the new inventory item is added to GGCE and the form stays open!
- Take the next inventory at this location and repeat from Step 5 until all packets are barcoded
This approach allows the documentation team to proceed in parallel and at their own pace with moving passport data to GGCE.