Distribution requests
Requests
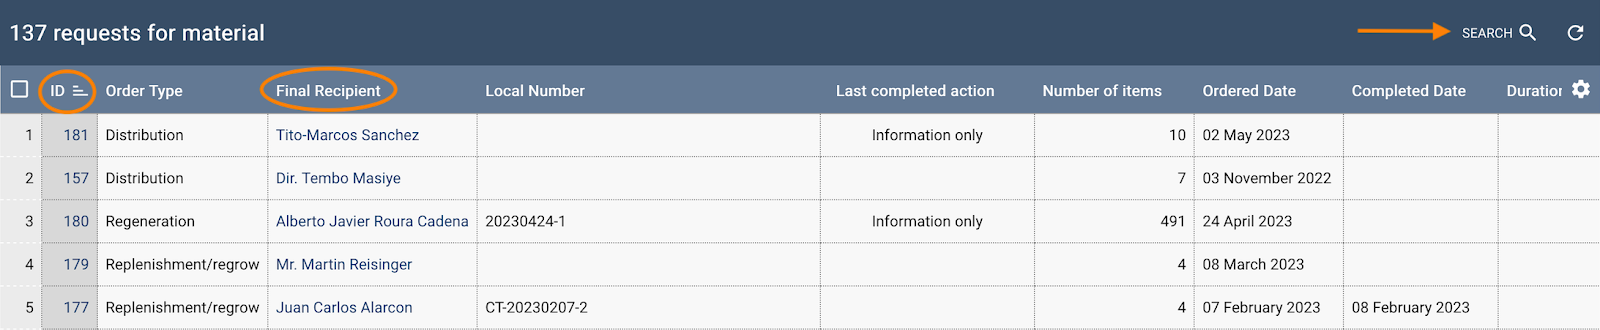
This section displays the list of requests with their primary data. You can see the details of a request using the links in the ID or Final Recipient columns.
To see only a specific set of requests, use the Search filters to find the desired requests.
Creating a new request
New requests should be recorded as soon as they are received. The general flow for creating a new distribution request is:
- Complete the New request form.
- Indicate the recipient of the requested material. If the requestor is new, enter their cooperator (contact) data (and, in some cases, update the data for an existing cooperator).
- Indicate the accession or inventory items that were requested.
- Add an action item for the request so that the Distribution Schedule feature can be used to manage the processing of the request.
- Add any attachments (files) that will be associated with the request.
Adding a new distribution request
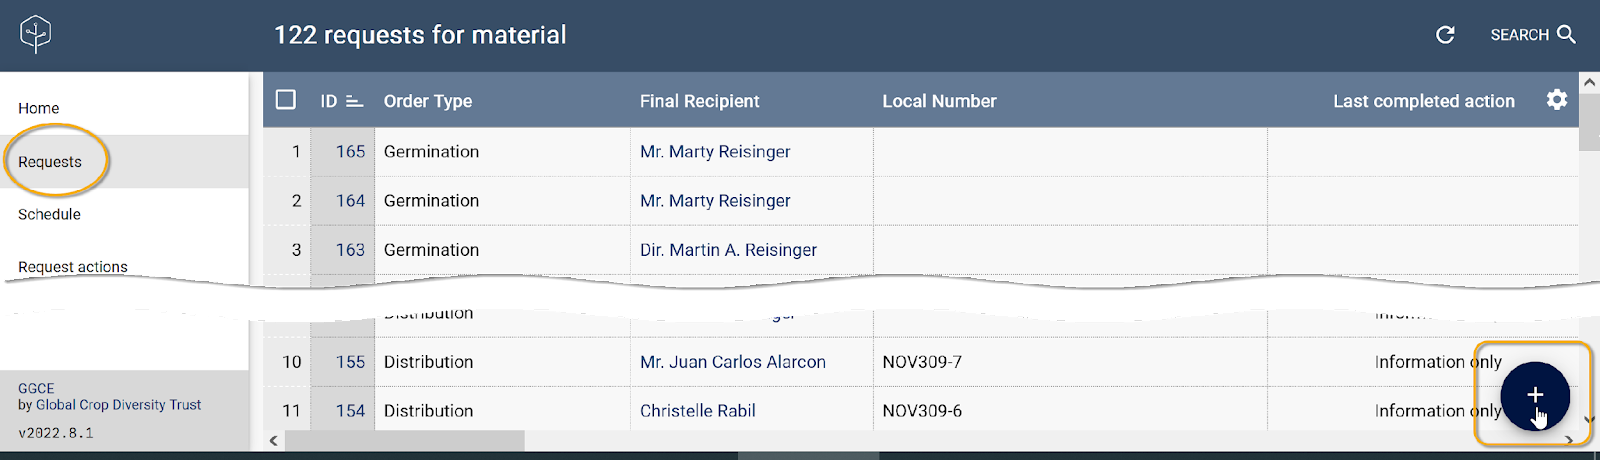
Open Distribution > Requests from the main menu to list distribution requests. Click the plus (+) button in the grid to open the New request form.
New request form
A few fields in the request form are mandatory, such as the three requestor fields and the Order Type. Other fields, such as Local Number and Site, are optional. For more information on how sites are used and how to split requests by site, see Sites and auto-split. In general, the more data filled in on the request form, the easier it is to search for specific request items later.
For the Order Type field, you must select from the list of distribution types. The form also has three fields (Final Recipient, Ship To, and Requestor) that require a cooperator to be selected.
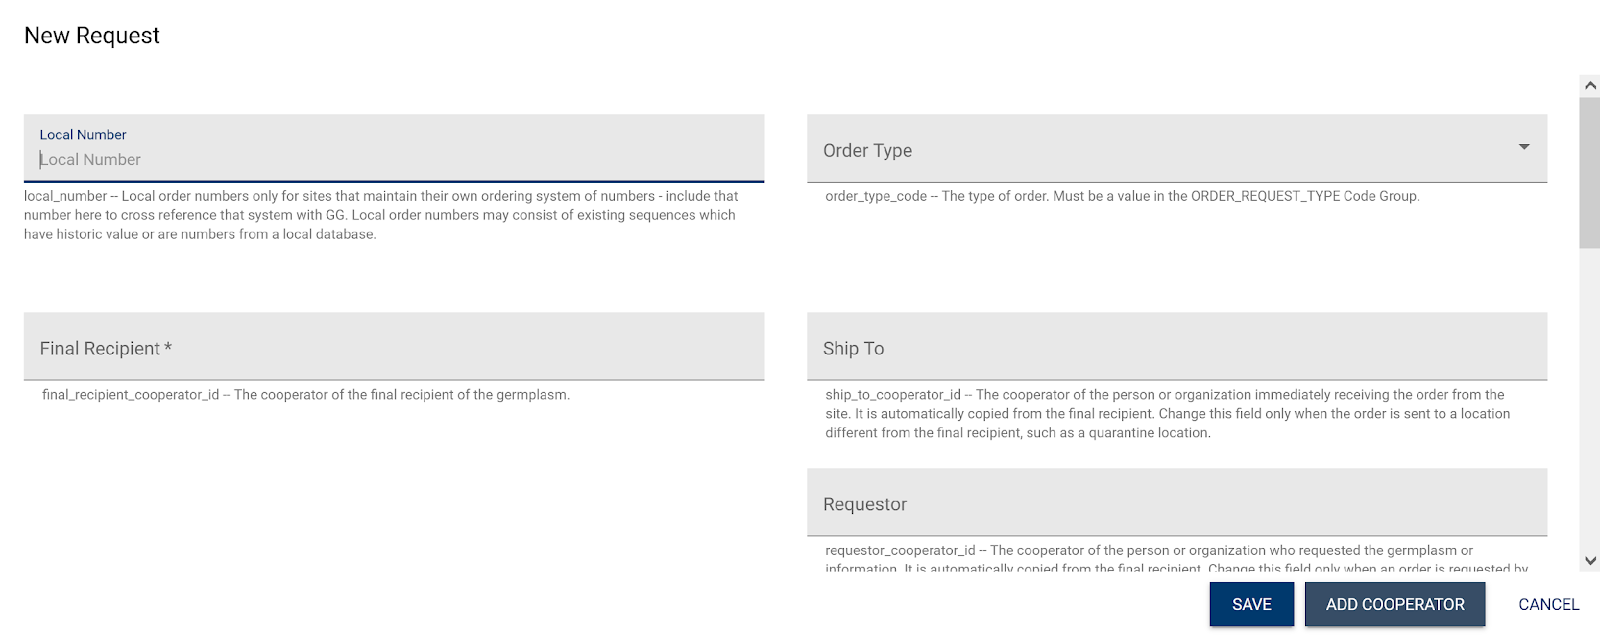
A cooperator is a person or an organization that has any association with your genebank – in this case, a requestor. When a request comes from someone not already in the cooperators, you will need to register their contact information before registering the request. If the cooperator's name is not in the database, use the Add cooperator button. For details on adding cooperators, see Cooperators.
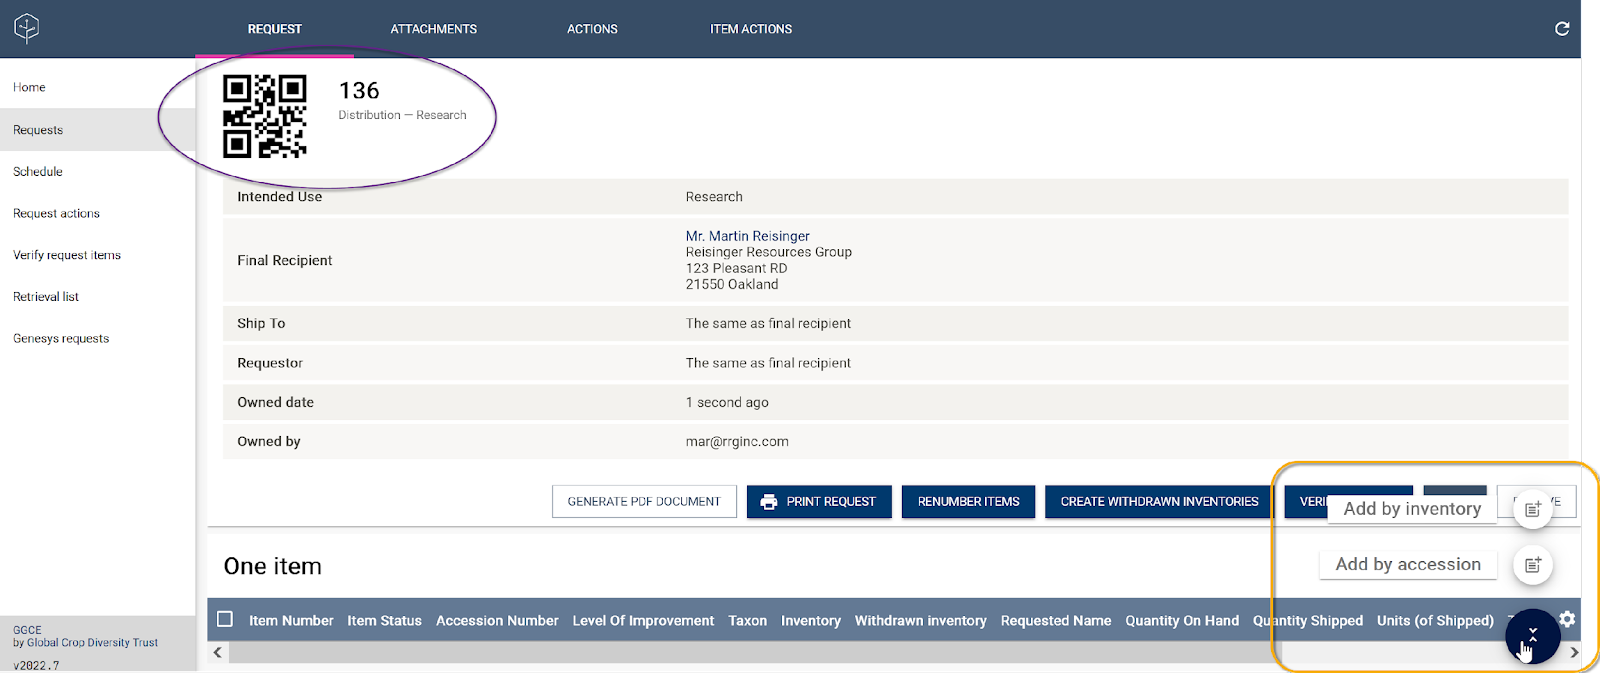
After a valid cooperator is selected or created, the system generates a request number, a corresponding barcode, and a grid where either accession or inventory items can be added to the request.
Site field and auto-split
Order requests include a Site field. When all active items on a request belong to the same inventory site, the request is assigned to that site. When active items span more than one site, use the Auto-split action on the request details page to divide the request by site. The largest group of items stays in the original request, and the remaining groups move into new request copies. Items that are moved are marked as SPLIT. See Sites and auto-split for the full workflow.
Users see only requests for sites they are authorized to access, and inventories added to a request must belong to the request's assigned site.
Requested quantity
When inventory items are added to a request, each item records the requested quantity and unit. These values are copied to the item by default, and they appear on the packaging page as the default shipped quantity.
Adding items to a request
Initially a new request has no items included. You can add items immediately after creating the request, or later. You add new items via the plus (+) button. Items to be added may be either accessions or inventory items, and both follow a similar process. In the following example inventory is used.
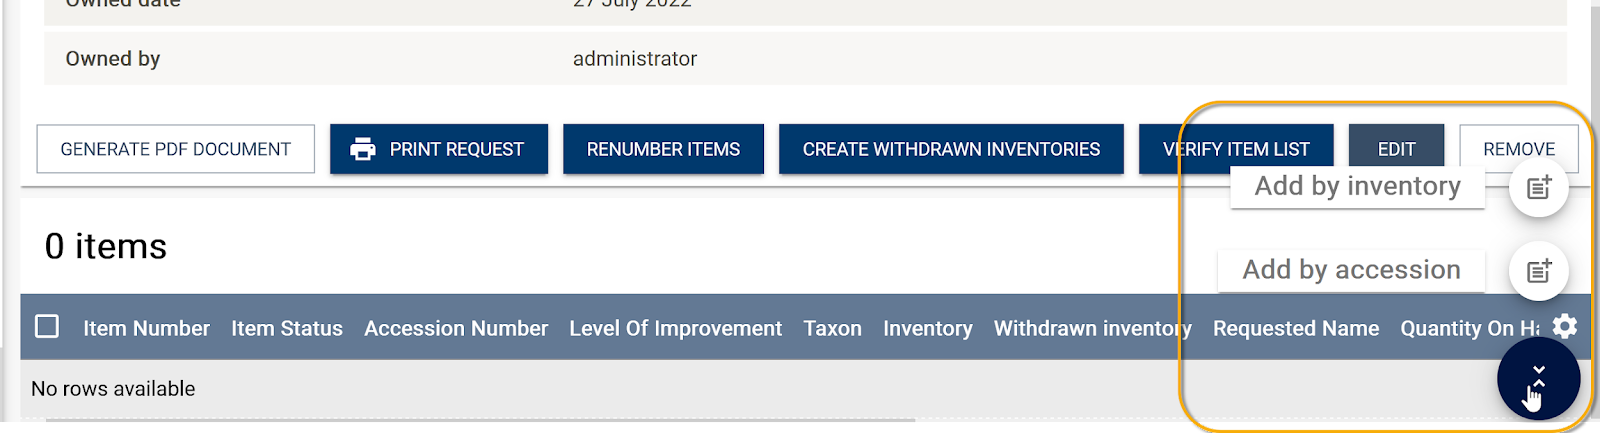
Adding by inventory
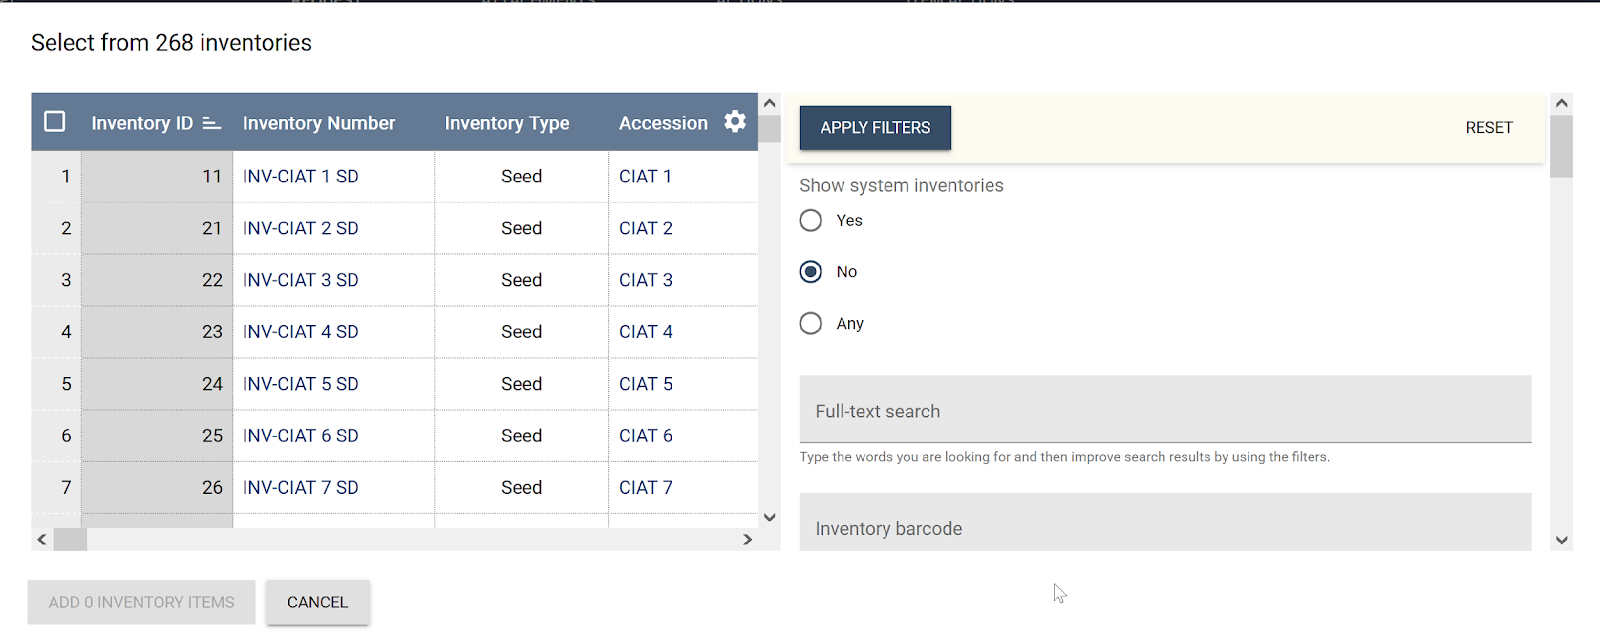
Initially, the screen lists all physical inventory items (the radio button is set to "No" for Show system inventories). Use the filters to change the radio button selection and to find specific inventory. Select items from the grid by clicking or tapping the left column.
In the example below, after applying a filter, the original list has been filtered to five inventory items – these five items were selected using the Select all checkbox in the top left corner.
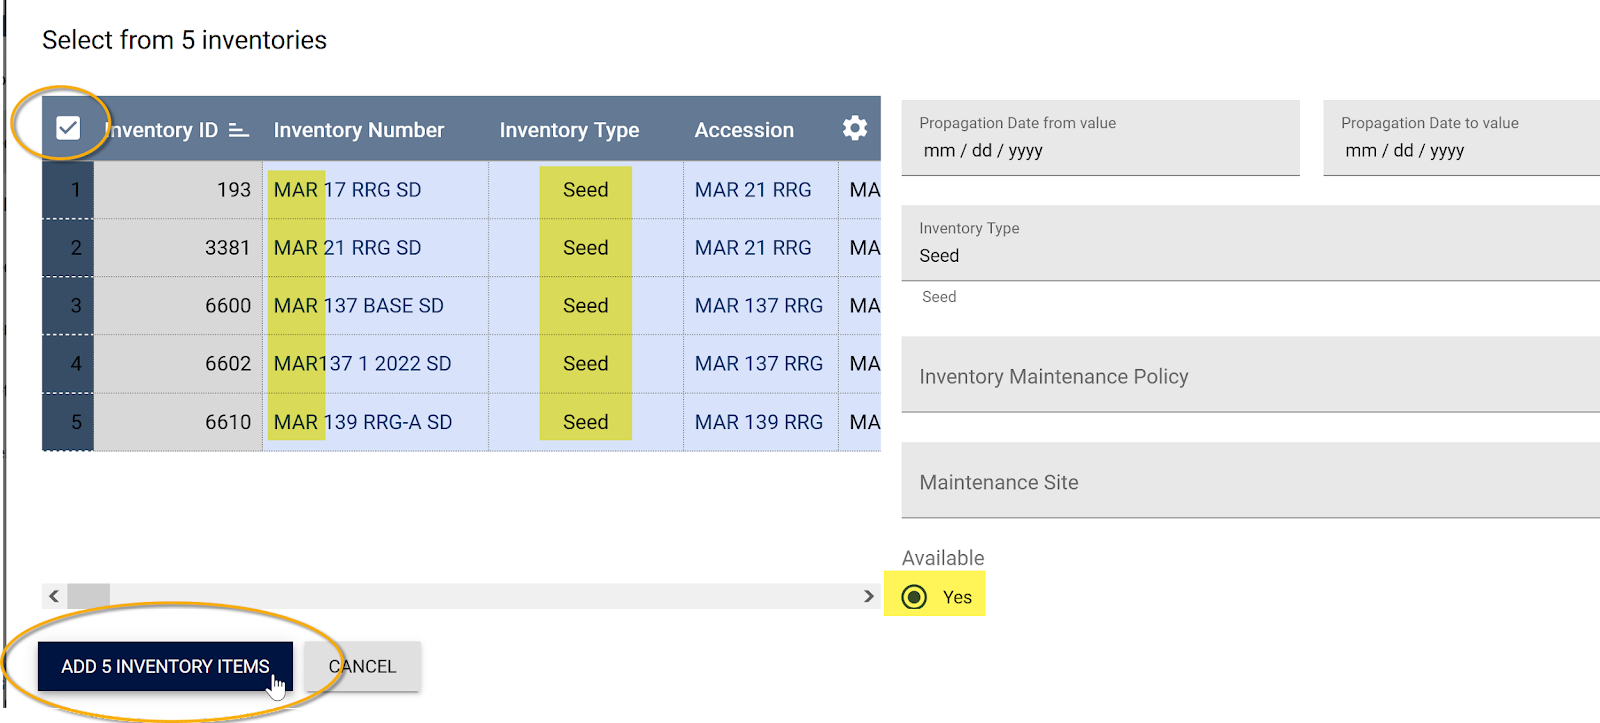
Click the Add # inventory items button to add the items to the request. The items are listed in a grid below the request's general information.
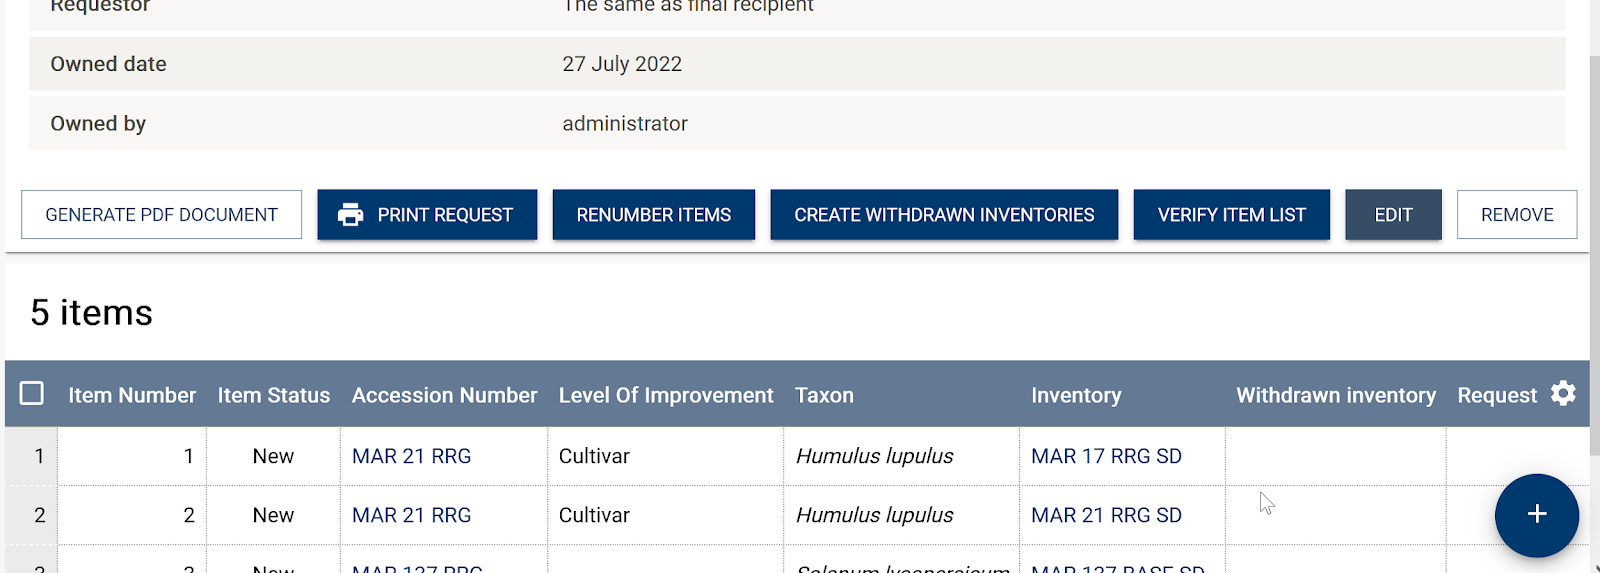
You can now add more items, leave the request as it is for future processing, or take other request actions.
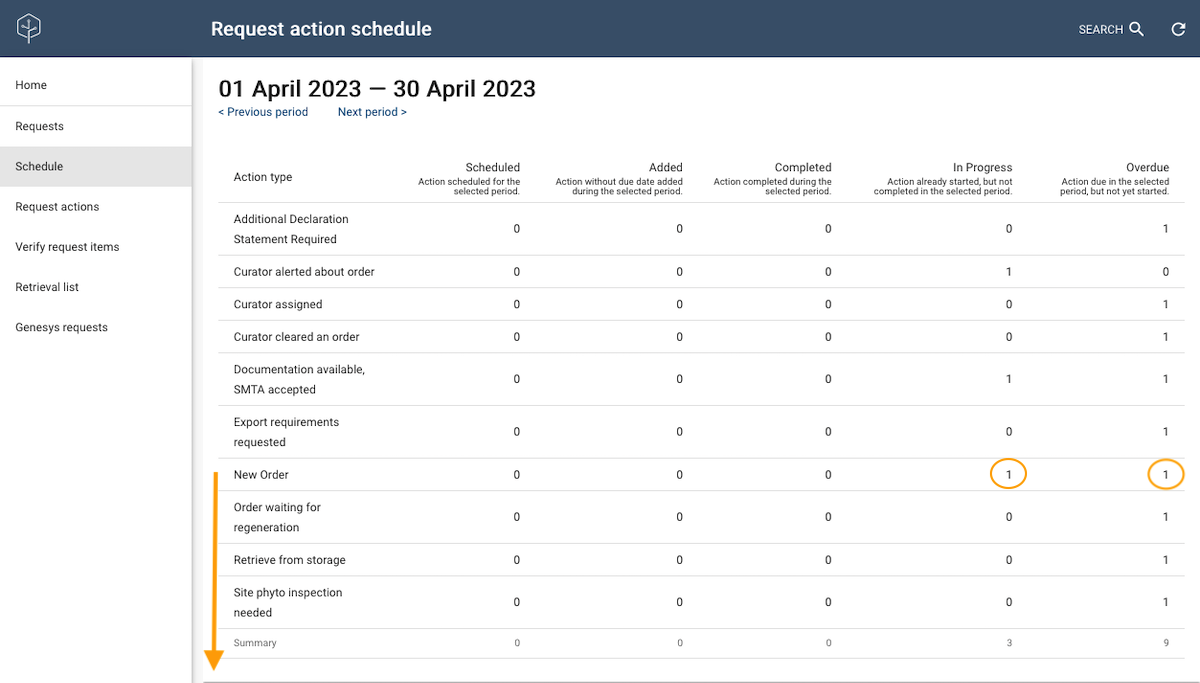
Schedule
Existing requests are typically managed via the Distribution Schedule function. The schedule summarizes by request Action type and indicates the number of actions that are scheduled, added, completed, in progress, and overdue for the time period indicated.