Custom labels
When you need labels that do not come directly from an inventory, order, or viability record, use the Custom labels tool. It combines a label template with data you paste and sends the resulting ZPL to the Label Printer app for printing.
Custom labels are useful for storage locations, benches, shelves, growth rooms, or any other area that needs a scannable barcode.
Open the page
Go to Test features > Custom labels. The page shows the Select template, Number of copies, and Label data fields.
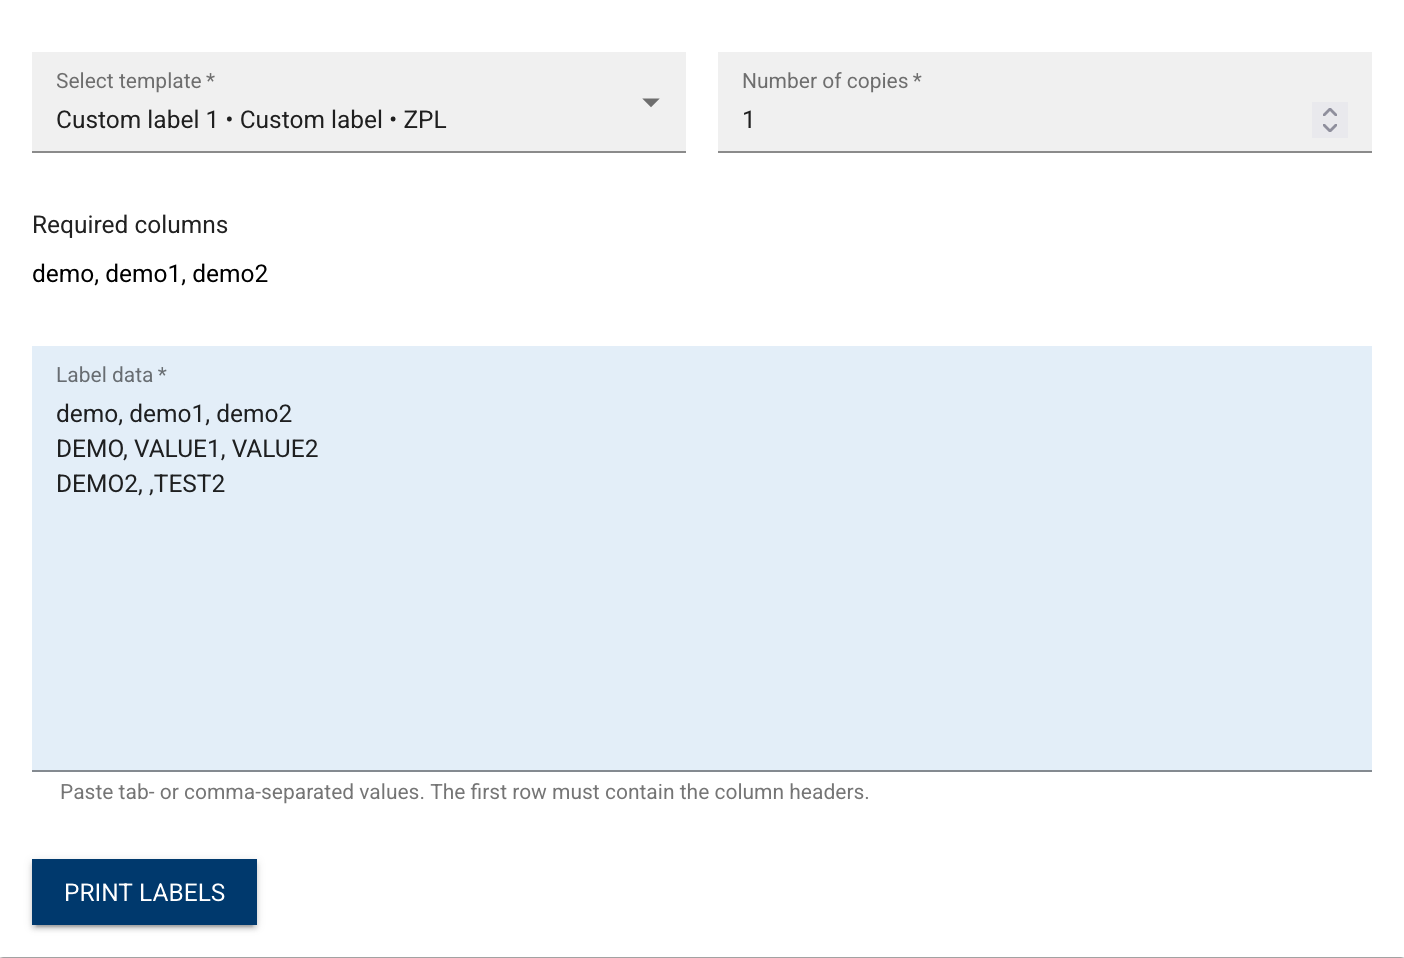
Select a template
Choose the template you want from the Label template drop-down. The names in the list are the friendly names an administrator has configured for each design.
Label templates are created and registered by an administrator. If the design you need is not in the list, ask your administrator to add it. See Register a custom label design.
Prepare the data
Paste tab- or comma-separated plain text into the data area. The first row must contain column headers, and each remaining row becomes one set of labels. The column headers must match the variable names used inside the template's placeholders. For example, if the template expects a variable called demo, paste:
demo
DEMO
DEMO2
For templates that use more than one variable, include every required column:
demo,demo1,demo2
DEMO,VALUE1,VALUE2
DEMO2,,TEST2
Each row is processed separately, so the number of labels generated depends on how many data rows you paste.
Set the number of copies
Use the Copies field to choose how many labels to print for each row. You can enter a value from 1 to 100. The total number of labels equals the number of data rows multiplied by the copies per row.
Print the labels
When the template, data, and copies are ready, hit Print labels. The page sends the ZPL to the Label Printer app, where you can pick a printer and send the job. For details on setting up printers and handling print jobs, see Printing labels.
Prepare your data in a plain text editor or spreadsheet, then copy and paste it into the data area.
Register a custom label design
Custom label templates are managed by administrators as application settings. To add a new design:
- Open Admin tools > Application settings.
- Add a new setting:
- Category tag:
LABEL - Name:
MANUAL - Value: the ZPL template
- Sort order: a unique number, starting from
1. Use different numbers for additional designs.
- Category tag:
- Hit Save.
The ZPL template can contain any variable placeholders you expect users to paste as column headers. For example, if the template contains {{demo}} or {{{demo}}}, users must include a demo column in their data.
For guidance on preparing ZPL templates and using variable placeholders, see Designing labels.
Friendly names for designs
The names shown in the Select template drop-down come from the BARCODE_LABEL vocabulary. To give a friendly name to a MANUAL template with Sort order 1:
- Open Admin tools > Code values.
- Add a new code value:
- Group:
BARCODE_LABEL - Code:
MANUAL_1 - Title: a short, user-friendly name such as
Location label 50x25. - Description: when to use this design, such as
For 50 by 25 mm location labels on printer B.
- Group:
- Hit Submit.